
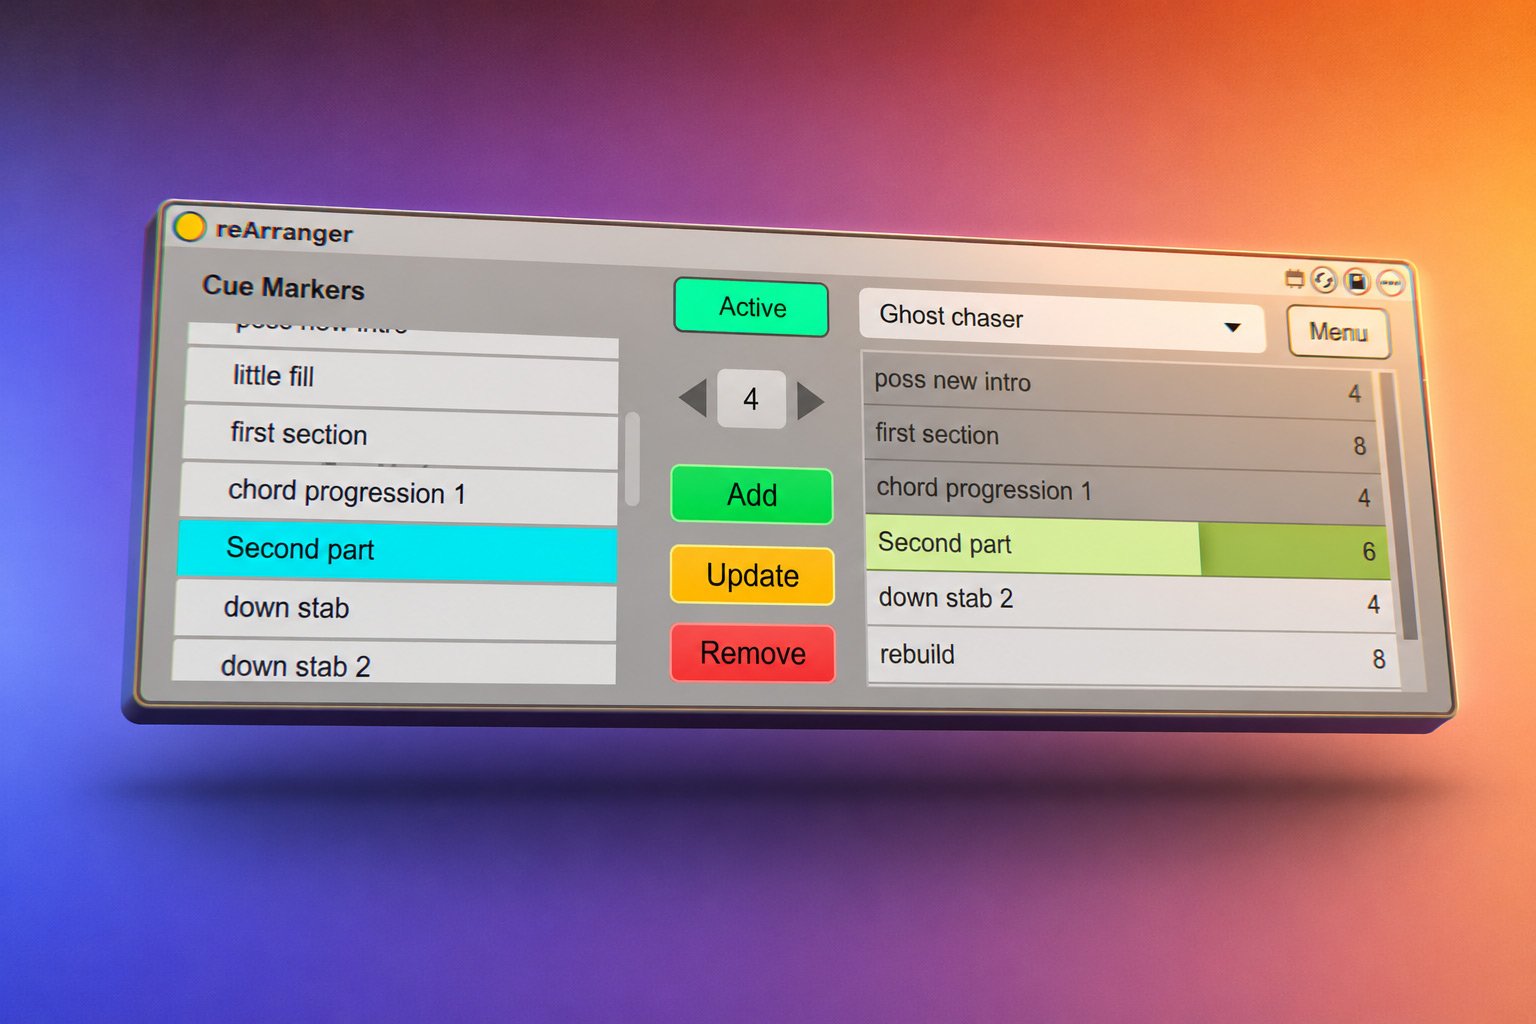
reArranger- Ableton Live Device
The reArranger is a device which allows users to chop Ableton Live arrangements into chunks and resequence them into different arrangements. By using a simple interface several “playlists” can be created allowing producers to A/B different arrangements. This means you can try out different middle sections, builds, drops, etc. without having to destructively edit your arrangement
Features
- Create dynamic Ableton Live Arrangements
- Make playlists of cue markers and play them back in order
- Drag and drop re-arranging of Ableton Arrangement sections
- Non-destructively try out several different versions
- Multiple Playlists so you can try out different arrangements
- Playlists are saved with each song and can be exported, backed up and more
or try the Free Lite Version
About the reArranger
WHAT REARRANGER IS FOR
When you have a bunch of song sections, all those great loops, builds and drops … but you don’t know how to put them into an order that works the best! What is the best intro? Should it have a 16 bar riser or an 8 bar one? What is the best middle section?
So often we can become paralysed by choice, and also it can be daunting to copy and paste big sections of your arrangement and the automation gets all messed up, and we get confused!
Well, here’s the solution. The reArranger allows you to create sections of your song and play them in any order, non destructively – until you find the perfect arrangement. Additionally you can have multiple arrangements so you can try a “short” version, a “long” version and a “experimental” version of the same song in the same Live set.
You will need Live 12, either Live Suite, or Live 12 Standard with the Max For Live add-on.
How to Use reArranger
You can read the manual for the reArranger here. But here’s a more casual walkthrough.
The first time you use the device I recommend trying it out in a song which you already have (with a bunch of stuff in the arrangement view).
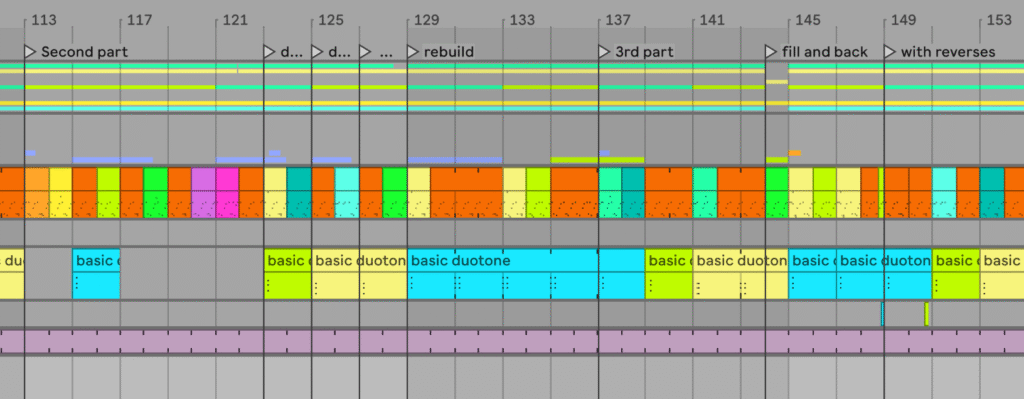
The next step is to create a track where you want the reArranger device to sit. It can be on your main output if you want, though I prefer to make an Audio track and give it a name and colour which is easy to pick out.
Next add the device, and if you have no cue markers on Ableton’s arrangement timeline the device should prompt you to add some. It will help you if they are named. If you don’t have any then create a few such as “Intro” and “first section” etc. *Additionally the default playlist will probably be called something like “Empty Playlist” and the interface will prompt you to rename it.
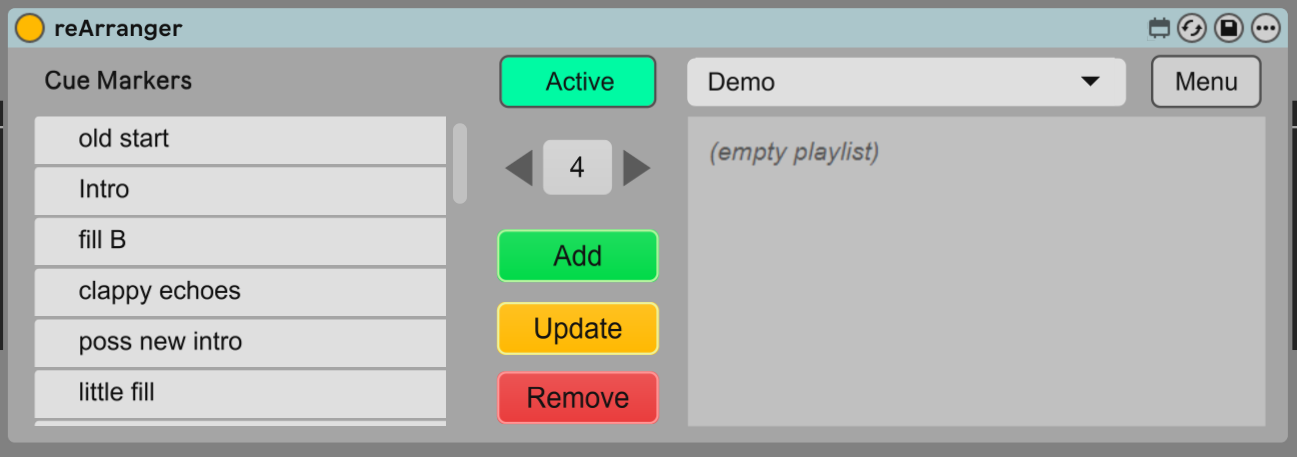
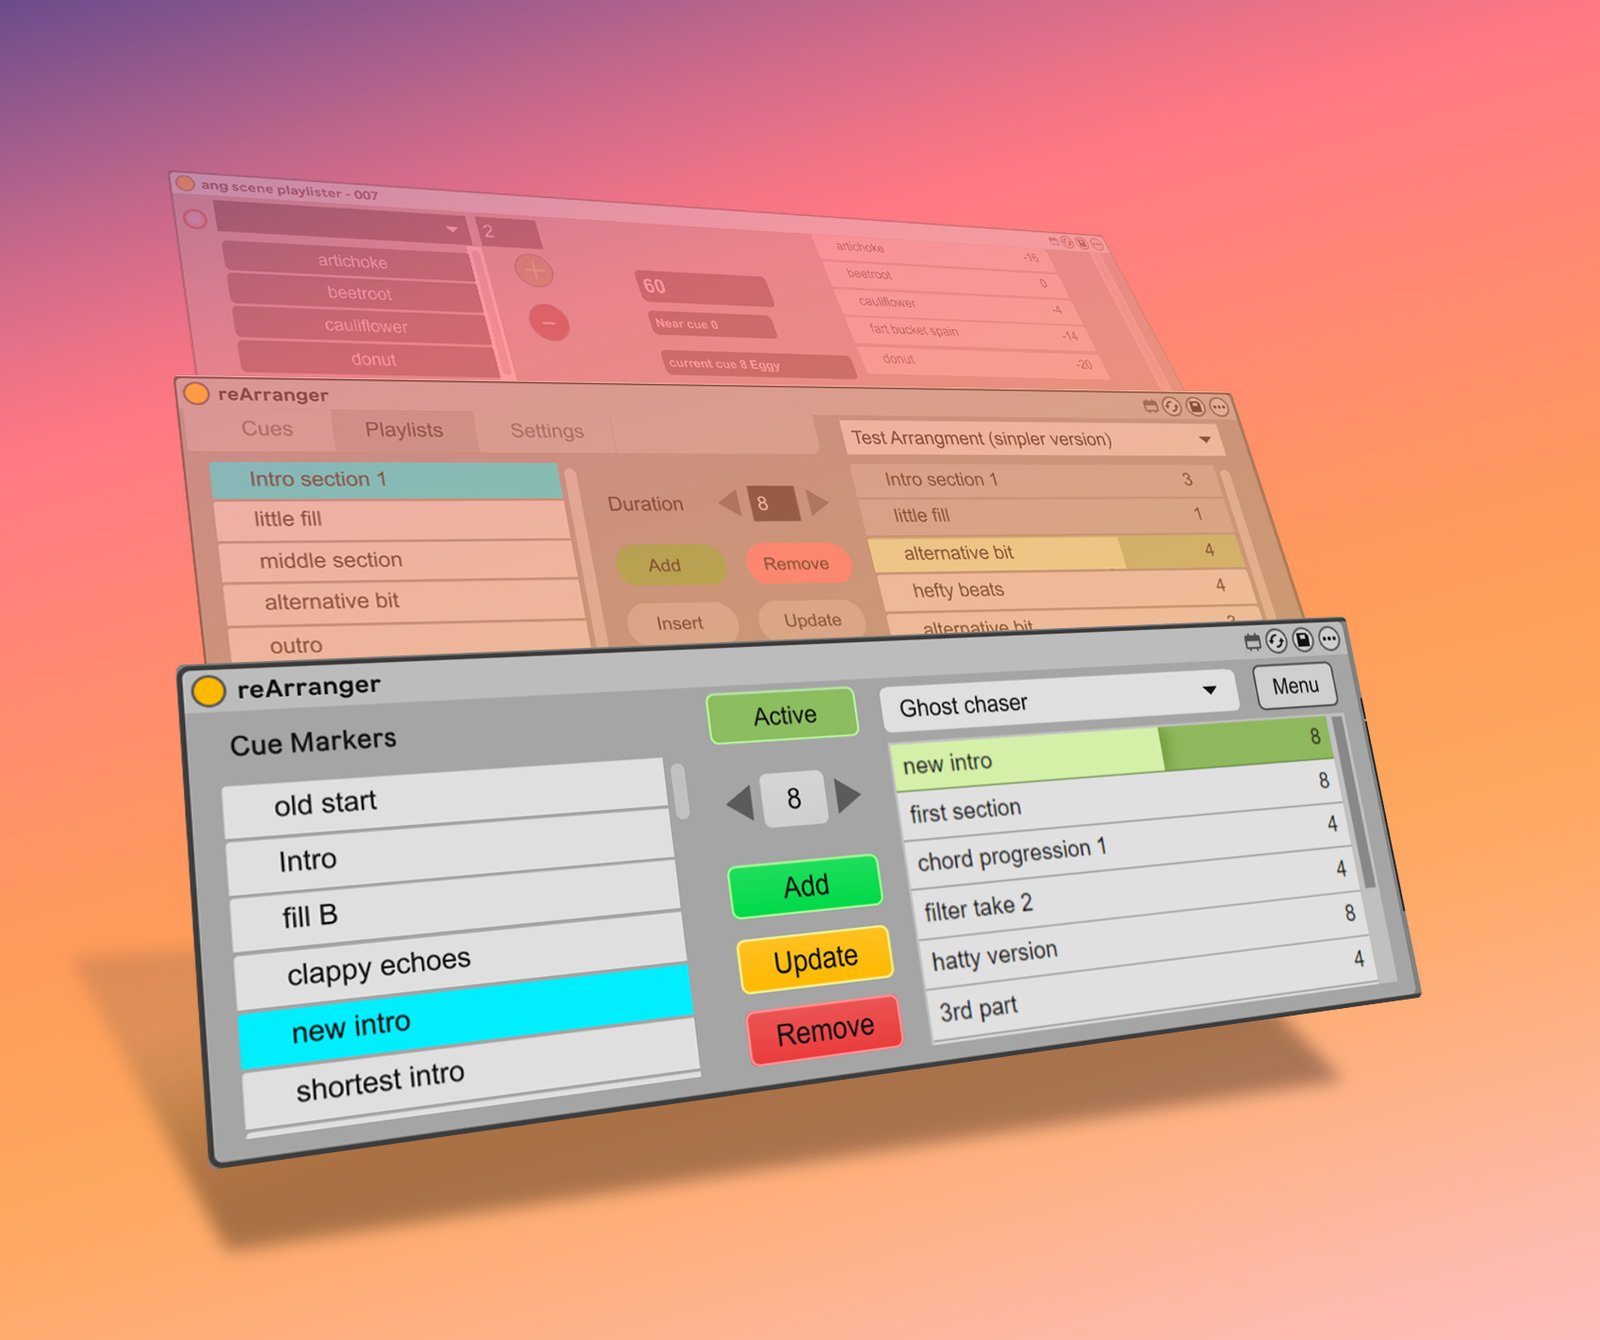
The interface: You will notice that the cues appear in the list on the left side of the reArranger interface. Notice that there’s a central column with the duration showing “4”, then beneath that are the Add, Update and Remove buttons.
Select a cue in the list on the right, for this explanation we will use the example of a cue named “Intro”. Now click “Add”, you will see the playlist now has one entry “Intro” with a duration of 4 bars.
Now add a few more items to the playlist. Click another cue in the list, in the duration box change the number to “8” and add the cue. Then add new more cues/ sections you want to play in order, anything will do for this initial exploration. Try setting different durations for each section.
Hit the main Ableton play button and check that the test playlist plays back!
Changing the duration and order of the sections
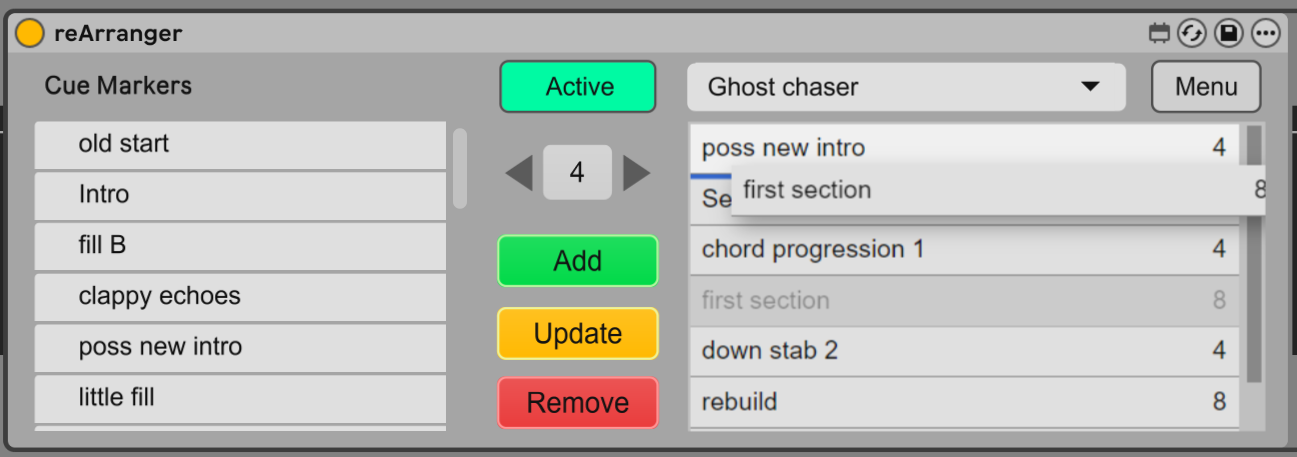
You can select an item in the playlist and notice that the Duration in the centre column changes to reflect the duration in the selected playlist item. To alter the stored duration: change the Duration in the centre column using the arrows, then click the “Update” button and see the playlist item will have its duration updated to the new length (in bars)
To re-order the playlist sections simple click and hold down on an item in the playlist and drag it to the new position.
Multiple Arrangements – try out ideas
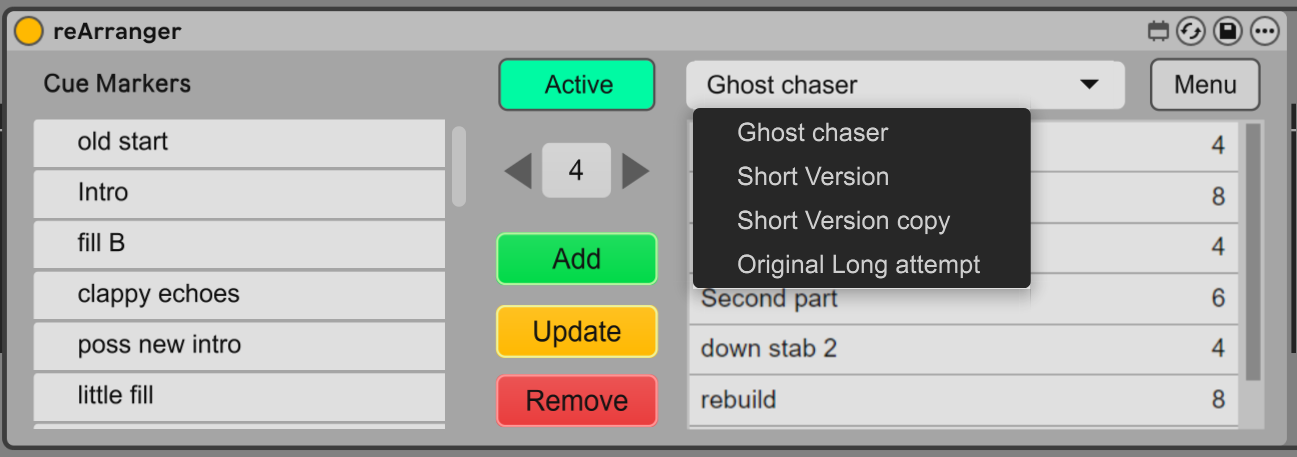
If you want to try different arrangements you can duplicate the current playlist and make a copy to test ideas out on.
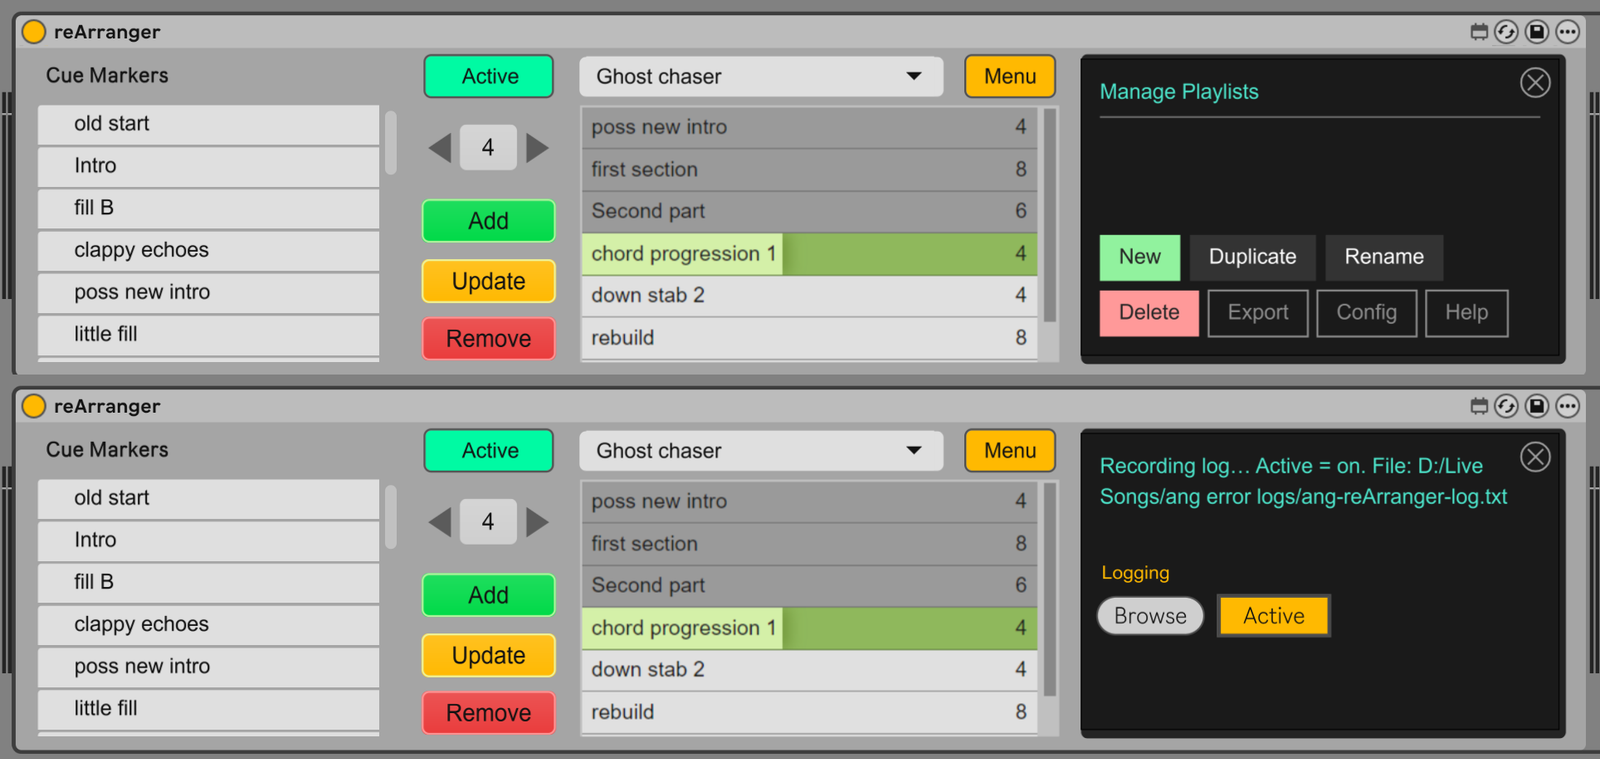
Click the “Menu” button and on the interface which is displayed choose “Duplicate” and then type a name for the duplicated playlist. When the new playlist is named try dragging some of the sections around in the playlist – then use the pulldown menu to switch back and forth between your two playlists.
Saving Playlists
To keep things simple whenever you save your song the active playlist is saved, along with all the other playlists you have tried (the ones in the playlist pulldown). When you load a song the playlists for the song are loaded.
If you delete the reArranger device and then drag a new one in – it will read the playlists which are associated with the current song and load those.
If you want to backup, or archive all the playlists used in a song simply open your current project folder in your OS browser and you will see a file containing the playlists. The file will be called something like your_song_name_allPlaylists.json , this is a text file and you can open it and read it in any text file viewer.
Finalising your arrangements
A very important point to notice is that when you render Ableton’s arrangement it will NOT respect the playlist cue jumping. Also it’s not possible currently to press a button and have the reArranger “re-arrange” the real timeline using automated copy and paste, as the Live API doesn’t support that currently. If it ever does then this is what I will add to the “export” facility. Currently for export we have two options available.
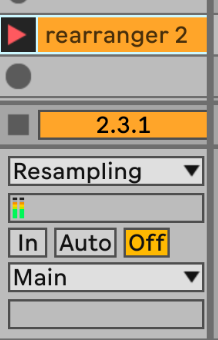
To render your song with the reArranger playlist ordering : create an audio track and set its input to resample, then record the song in real time to the resample track.
Alternatively you might want an “Edit decision list” so you can impose your new chosen arrangement onto a copy of the .als .
For this click the menu, click “Export” and on the page which appears click the Export button. This will save a text Edit Decision List in your project file for this song, and you can use that to put together the arrangement you created.
If things go wrong
Sometimes the reArranger might show an info box that the current playlist doesn’t seem to match the existing cues, it will track moving and re-naming cues but things can go wrong. You should try to play the playlist, it might be fine – in that case click “Keep” , you also have the option to “Clear” the corrupted playlist if it really isn’t relevant anymore.
If you have a bug with reArranger then open the menu, choose Config, here you can create an “error log” to send to me. Choose a location you want to save your log, then “activate” the logging. Use the reArranger as usual. When you have encountered the bug you can de-activate the logging by visiting the same screen and then send the log file (from the location you chose) to me via the Help menu item.
Try it out for free* or get the fully featured version
HISTORY
Since 2010 I realised Ableton needed a method for re-arranging song sections non destructively. So in 2020 I started making the first rough prototype and I’ve been using it since then, slowly adding features, removing overbloated ideas, and very slowly removing bugs.
TECHNOLOGY
I owe a lot to various tutorials for introducing me to the ideas used here. Some JS in Max tutorials, and also some rendering JS via the HTML object, amongst many others. Suffice to say this isn’t “vibe coded”, my day job is as a web developer so the stabilisation of JS in Max 9 really helped me iron out the last few bugs.
THANKS TO
- Javascript / ECMA script in Max for Live by Adam Murray which was a great help regarding calling the API from JS, and handling data
- Sortable drag and drop re-ordering of a list using JS which gave me the idea of a sortable list of sections
- Amazing Max Stuff – drawing in the HTML canvas object which made me realise I could leverage a bunch of ideas about UI stuff