
reArranger Manual
- Get the Latest Version
- Adding reArranger For the first time
- Floating Window (new v1.2)
- Creating Cue Markers
- Making a Playlist – Add Cues to your first playlist
- ★ auto-create a playlist (new v1.2)
- Editing a playlist
- Moving and renaming cue markers
- ★ Commit Arrangement (New v1.2)
- Exporting a Playlist
- Rendering Your Arrangement as Audio
- Troubleshooting
Get the Latest Version / Where’s My Download?
Sign in with the email you used to purchase the reArranger and get the latest reArranger version from your account page If you are having problems downloading or using then get in contact
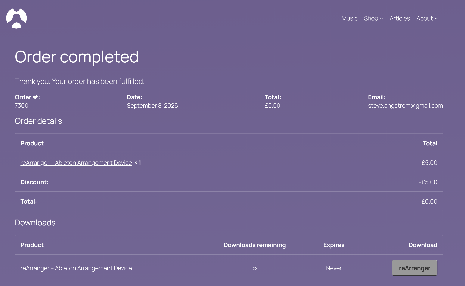
When purchasing the reArranger you should be taken to a page (after payment) which looks like the below image where you can download immediately. In addition a mail will be sent to the mail address you used during purchase. Check your spam folders in case its in there! Even if you didn’t set up an account you can get your downloads from this site at any time by going to the account page, entering the email you used for the purchase and “resetting” a password. It will mail you, and you will be able to log into an account and see all purchases you’ve made (and can download again) plus any free updates.
Adding reArranger For the first time
reArranger and reArranger Lite can be dragged in to an open Live set, then click the little save icon on the Device and this will save the device to your User-library in your \User Library\Presets\Audio Effects\Max Audio Effect\Imported
Alternatively if you want to have the device in a specific location in your user library, create the folder such as \User Library\Presets\Audio Effects\Max Audio Effect\3rd Party Devices and drag the .amxd file into that folder.
Floating Window
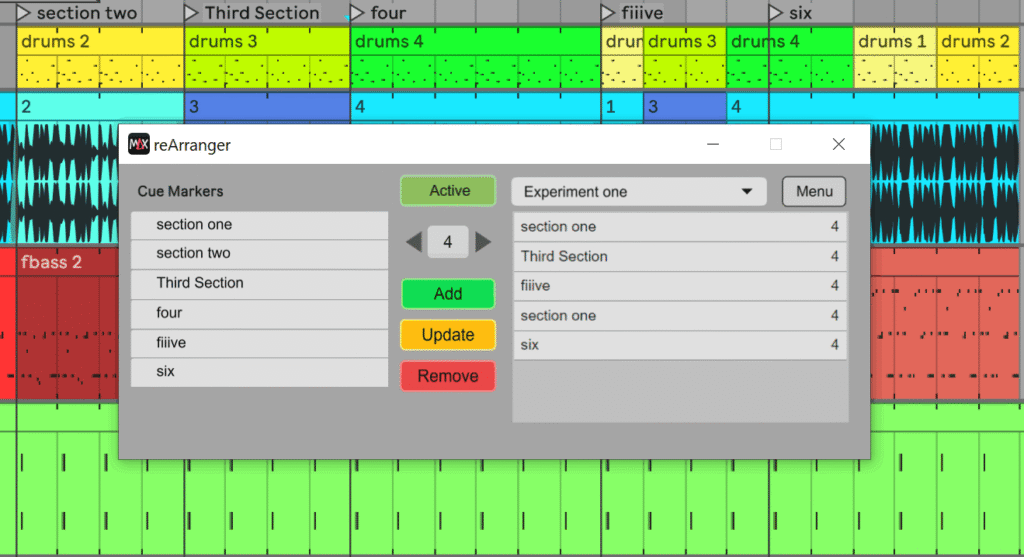
If you own reArranger from version 1.2 onwards the download includes a new version of reArranger which is in a floating window.
This additional version of reArranger operates the same way as the “main” version, but for convenience you can make the interface float so you can drag it to another window, or pin it on top of the Live interface.
Additionally the floating version of reArranger has a zoom control for improved accessibility.
Creating Cue Markers
Open a Live song of yours which already has some music in it, make sure there are some named “cue locators”.
If there are no locators in your song:
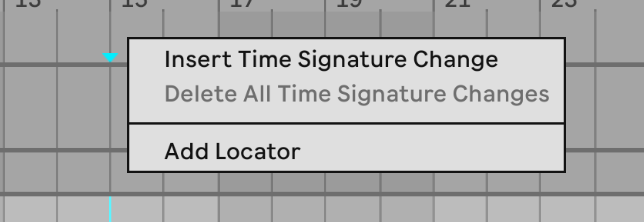
Add a Cue Locator: Right-click the top timeline/ruler area and choose Add Locator (or hover near the top until you see the marker/speaker area, then right-click).
Name Your Cue: Type a description or name for your section (like “Verse” or “Chorus”) and press Enter.
Now if you don’t already have a reArranger in this song, drag in a reArranger and you will see a list of the cue markers down the left side of the devices interface.
Making a Playlist
Click on an item in the cue list (left side) and click the central button labelled “Add” to see that cue added to the playlist on the right side. You will see a number there alongside the title of the section, that’s the number of bars the section will play for. So if you set “Verse One” with a number 8 , that section will play for 8 bars before jumping to the next section. The duration defaults to “4” (bars).
Add several more sections, try repeating a section, or several sections. There’s no limit on how many sections you can have, but in the Lite version its limited to 8 sections.
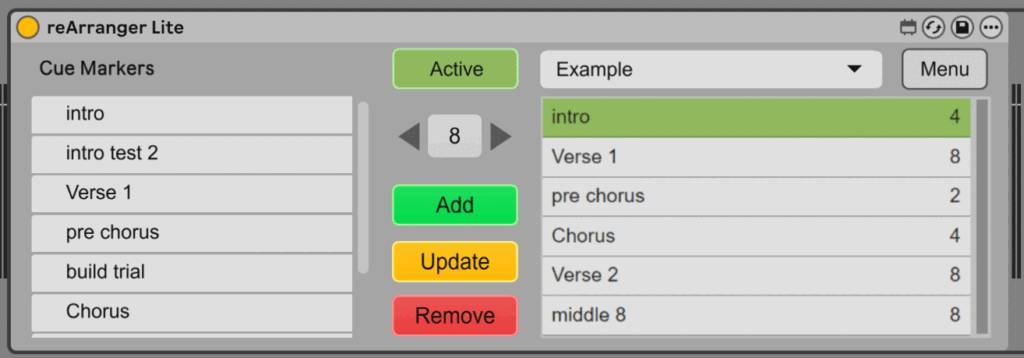
When you have enough sections, make sure that the “Active” button is illuminated, then play your live set to hear your new arrangement
★ Auto-Create A Playlist (Full version v1.2)
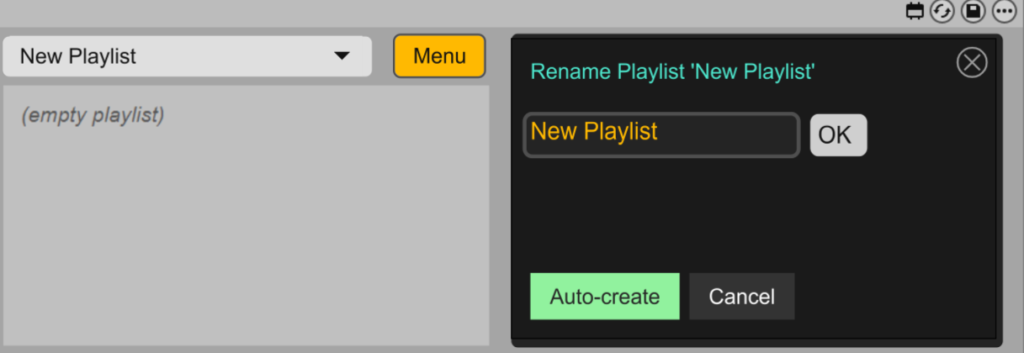
From version 1.2 onwards you can choose “Auto-create” during the New Playlist creation, this will take all the cues in your song and create a playlist automatically. This helps to get started, for instance if you want to make an arrangement which is the same as the one in the arrangement view but you’d like to try a new middle section – in this case “Auto-create” quickly clones what exists and lets you get to the business of experimentation
Editing a playlist
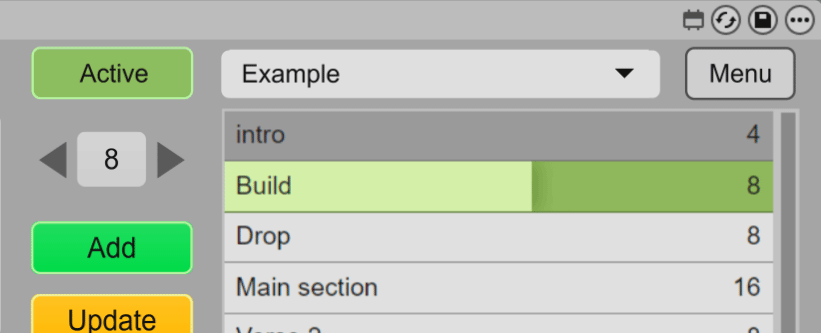
You can click and hold on a playlist item to move it up or down in the play order. You can add or insert an item into the list (they will get inserted after the currently active / illuminated playlist item. Clicking the Delete button will delete the current playlist entry from the active playlist (though not the actual cue).
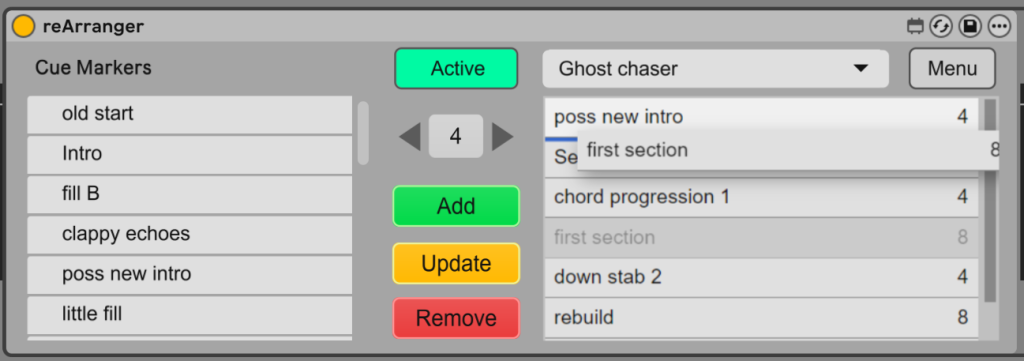
You can update items by selecting the playlist item, the corresponding cue will be selected in the list on the left side – now you can change the duration by altering the number in the duration box using the arrows. Click “update” and the duration will be updated to reflect the new duration.
Additionally you can choose an alternative cue to replace the selected one. Click your playlist item, choose a different cue from the list on the left side, then click “update” to replace the entry.
If you want to try lots of different variations to see which arrangement works best – click the Menu button and choose “duplicate” to duplicate the current playlist. Now you can rename this duplicate and try some alternatives out. Flip back and forth between versions using the pulldown playlist selector menu.
Moving and Renaming Cue Markers
You can drag and re-name the cues on the arrangement timeline as a quick way of testing out ideas. For example if you have three different sections representing potential “drops” you could make a cue titled “drop” and move it to the start of each section to try how each version works.
★ Commit Arrangement (New v1.2)
This will create a new Ableton Live set with your arrangement. When you are happy with your rearrangement you can “Commit” it to a new set which contains all the edits you have made.
Choose “Commit” on the main menu page, and you will be taken to the page in the image. Click commit here and the device will create a new set containing your arrangement, the new song will automatically open.
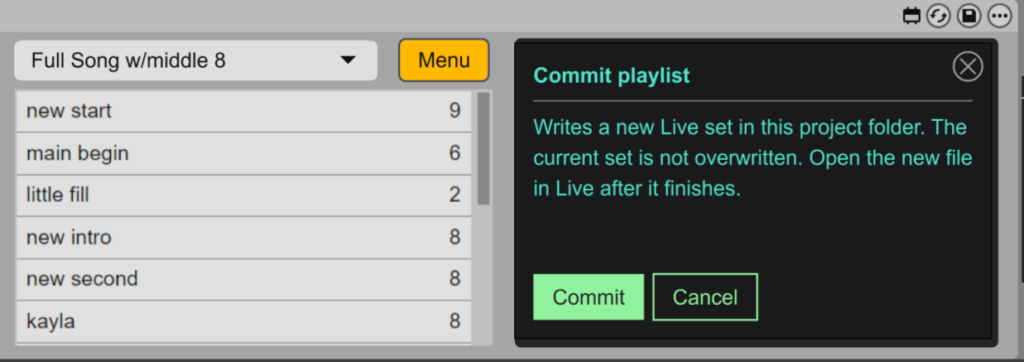
Your new Arrangement will be a new Ableton Live set in the same project folder. The new set will be all your arrangement edits in a whole new set, with a title which reflects the playlist you “Commuted”.
Exporting a Playlist
You can export Playlists as Edit Decision Lists as guides for use elsewhere, for example in media editing.
The Playlist and all related playlists for each song are also available in raw text format in your Live Project, each time you save your set it will create an authoritative file of all playlists associated. The file has a name like “My Cool New Song_allPlaylists.json”
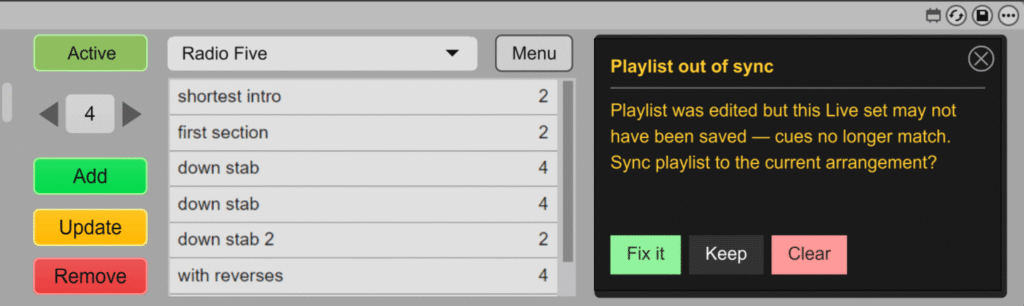
Additionally the reArranger also saves a backup state in the case of you saving your set, then tinkering with the playlist, and then closing the set and/or Ableton without saving. In this case you might have done some arrangement that you want to keep, well the reArranger will offer you to restore that next time you load the song.
You can use Fix It to make the playlist conform to the saved song, or Keep, to keep the edits you tried out but didn’t save
Rendering Your Arrangement as Audio
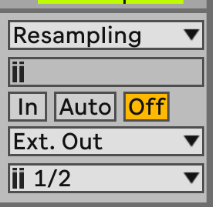
To render audio of your reArrangements while you are still experimenting what we can do is record the output by using Live’s Resample settings, as shown.
NOTE: From reArranger Pro (v1.2) onwards its possible to “Commit” to an arrangement. See the Commit Arrangement section
Create a new audio track, set the input to resampling (if you want to capture everything you are hearing) then record the playback in either Arrangement view or Session view.
In arrangement view the recording will look a little odd as you see the playhead jumping around, but when the playlist completes playback you can open up the recorded wave and see that its exactly as you heard. Alternatively recording into a Session clip might feel more natural to you.
Note that if you have effects on your main channel and playback your recording you will hear it through those effects unless you use the settings shown above. (output Ext. Out)
Troubleshooting
If you have issues here are some common gotchas:
- the Active button has flipped to inactive
- something else I haven’t thought of yet
Configuration – Error Logging
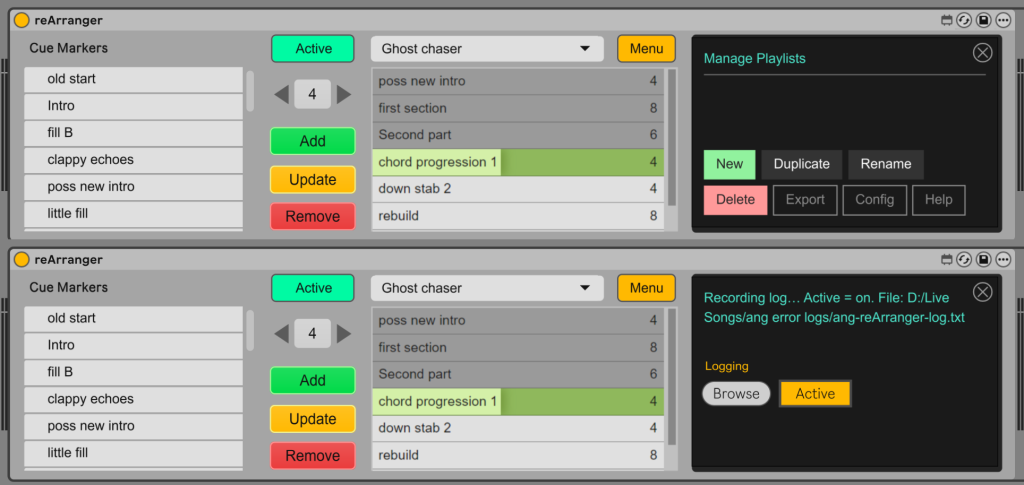
To log errors you can go to the configuration menu, choose a log location, activate logging and the recreate the bug.
Send me that log and I will aim to fix the issue.